DIY Fence Installation Tips for New Bedford Homeowners
Are you a New Bedford homeowner looking to enhance your outdoor space? Installing a fence can transform your yard into a secure, aesthetically pleasing oasis. This guide provides essential tips for tackling the job yourself. From understanding your fence options specific to New Bedford yards, to acquiring the right tools and setting posts accurately, we’ll walk you through each step. By the end, your yard will not only be securely fenced but also beautifully tailored to your home’s unique character.
- Understanding Your Fence Options for New Bedford Yards
- Measuring and Planning Your Fence Layout
- Acquiring the Right Tools for Installation
- Step-by-Step Guide to Post Setting and Panel Attachment
- Finishing Touches: Gates, Hardware, and Maintenance Tips
Understanding Your Fence Options for New Bedford Yards
When it comes to fencing your New Bedford, Massachusetts yard, homeowners have a variety of options to choose from. The first step is understanding the types of fences suitable for your specific needs and preferences. Wood fences are popular in New Bedford due to their classic aesthetic appeal and relative affordability. However, they require regular maintenance like painting or staining to protect against weather damage.
Chain-link fences offer a more durable option, known for their strength and security features, making them ideal for areas requiring higher privacy or security measures. Vinyl fencing is another low-maintenance option gaining popularity due to its longevity and wide range of colors and styles available. Each type has unique characteristics that cater to different budgets, aesthetic tastes, and functional requirements, ensuring homeowners can find the perfect fit for their New Bedford yard.
Measuring and Planning Your Fence Layout
Before you start installing your fence, careful planning and measuring are essential. Begin by identifying where along your property line you want to erect the fence. Use stakes and string to mark out the desired perimeter, ensuring it aligns with local regulations. Consider factors like gates or entry points, and any scenic or functional elements you’d like to incorporate into your layout.
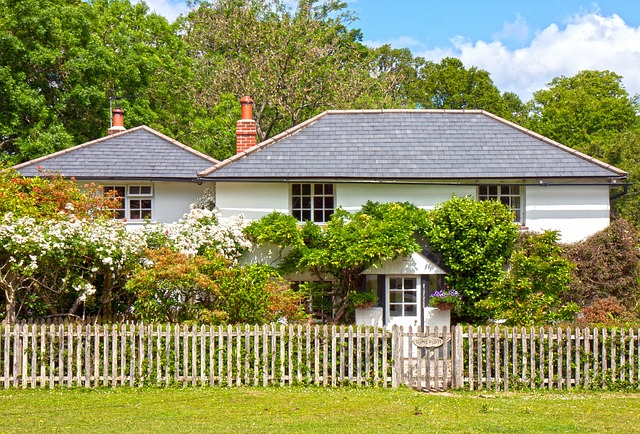
Next, decide on the fence’s style and height. Common choices include wooden picket fences, chain-link, or vinyl. Each material has its advantages and will influence both aesthetics and installation complexity. Measure the areas where posts will be placed, typically every 6 to 8 feet, to ensure a solid structural foundation for your fence.
Acquiring the Right Tools for Installation
When tackling a DIY fence installation project, New Bedford homeowners should prioritize investing in the right tools to ensure a successful and durable outcome. A basic toolkit for this endeavor includes a measuring tape, hammer, post-hole digger or power drill with an attachment, level, and a set of sturdy work gloves. The measuring tape is essential for accurate measurements, while the hammer and post-hole digger (or power drill) are indispensable for driving posts into the ground. A level will guarantee your fence is straight and true, and work gloves protect your hands during the physical labor.
Additionally, consider a string line for alignment, a wheelbarrow for mixing concrete if you’re setting posts in concrete, and safety gear like safety glasses and ear protection. These tools collectively provide the foundation for a solid installation process, enabling you to erect a fence that not only enhances your property’s aesthetics but also stands the test of time.
Step-by-Step Guide to Post Setting and Panel Attachment
Setting posts and attaching panels is a crucial step in DIY fence installation, demanding precision and patience. Begin by digging holes for each post using a post-hole digger, ensuring they’re deep enough to support the fence’s height and width. Place a concrete mix in each hole, allowing it to set completely. Once the concrete hardens, align the fence panels with the posts and secure them using brackets or nails, depending on your chosen method. For added stability, consider using metal connectors that lock into both the post and panel, creating a solid joint. Ensure all connections are tight, then move on to the next section, knowing your fence is now well on its way to completion.
Finishing Touches: Gates, Hardware, and Maintenance Tips
When completing your DIY fence installation, don’t forget the finishing touches that will enhance both the functionality and aesthetics of your new barrier. Gates are essential for allowing access to your property, so ensure they fit properly and operate smoothly. Choose hardware that complements your fence’s style—from classic metal latches to modern keyless entry systems. Regular maintenance is key; inspect and lubricate hinges, replace worn-out parts, and keep the gate paint fresh to prevent rust and damage.
Additionally, consider adding decorative elements like post caps or top rails for a polished look. Over time, fencing may require repairs, so keep spare parts on hand. Regular cleaning with a pressure washer will help maintain the fence’s appearance, and applying a fresh coat of paint every few years will protect it from the New Bedford, Massachusetts climate.